Firebase setup
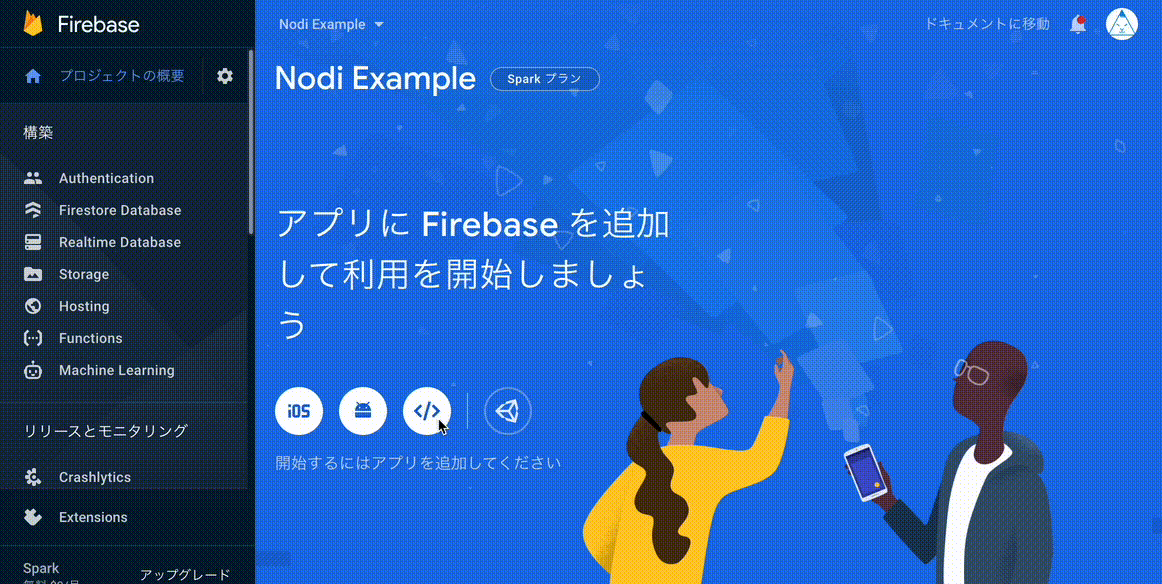
1. Create a Firebase project#
Create a new Firebase project. (Check the official documentation for instructions)
2. Add a web app#
Add a web app from the Firebase console.
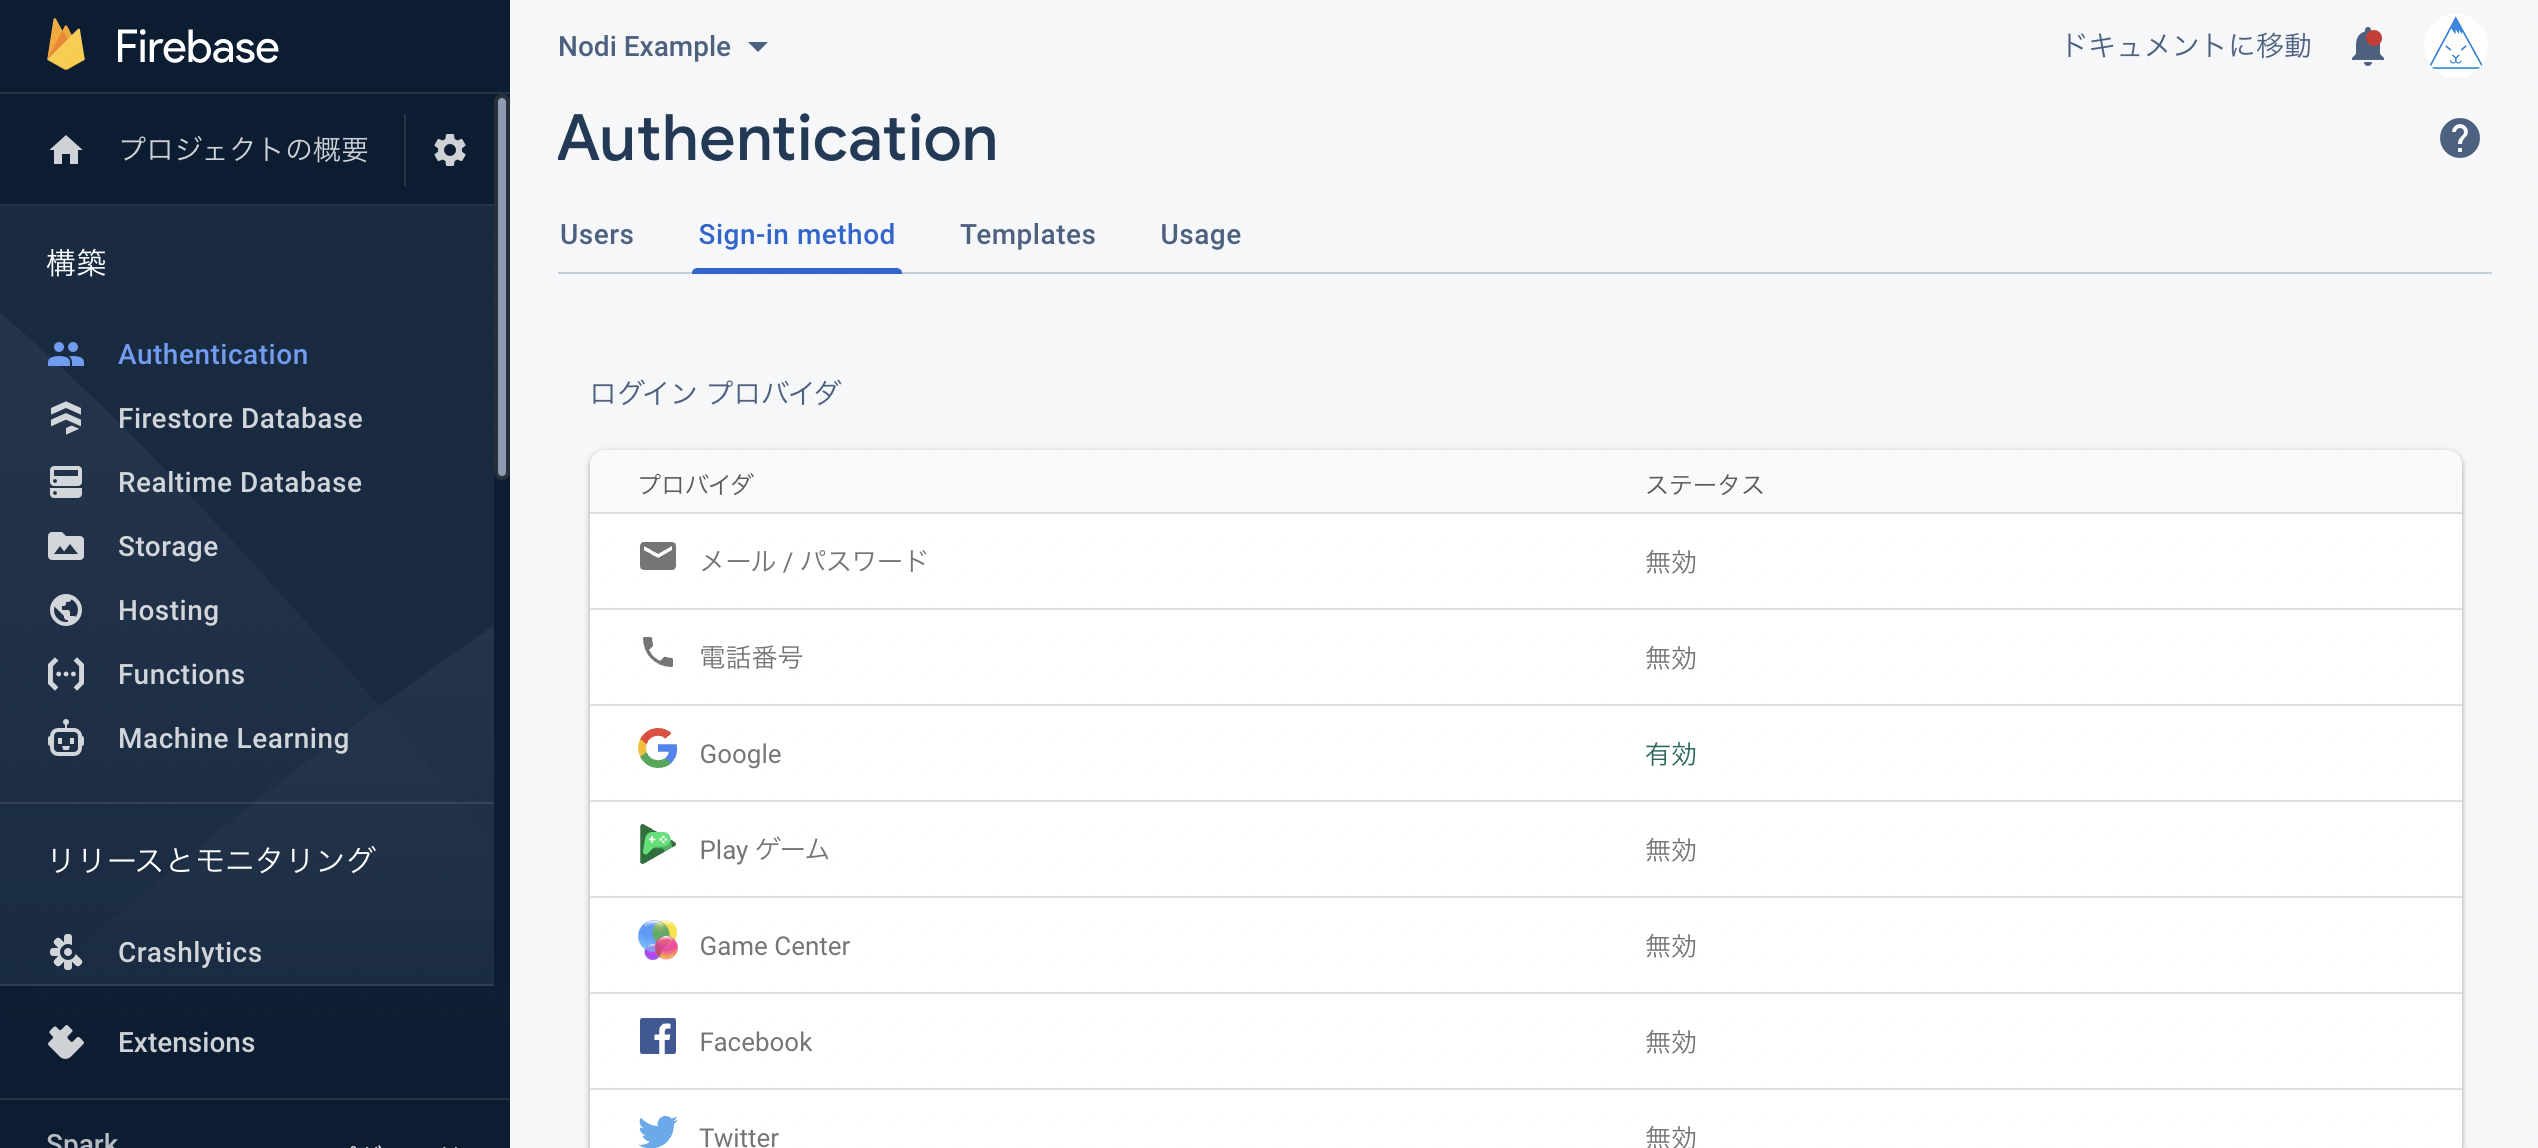
3. Configure Authentication#
Nodi uses a Google account for login. From the Firebase console, open the Authentication menu and enable Google authentication in Sign-in method.
4. Enable Firestore Database#
Enable Firestore Database.
You will need to set up the rules strictly to increase security, but for the time being We'll start it in test mode for now as it's for local development.
5. Setting environment variables in Nodi#
Copy the Firebase configuration object from the Configuration menu of the web app you registered in Step 2 of the Firebase configuration.
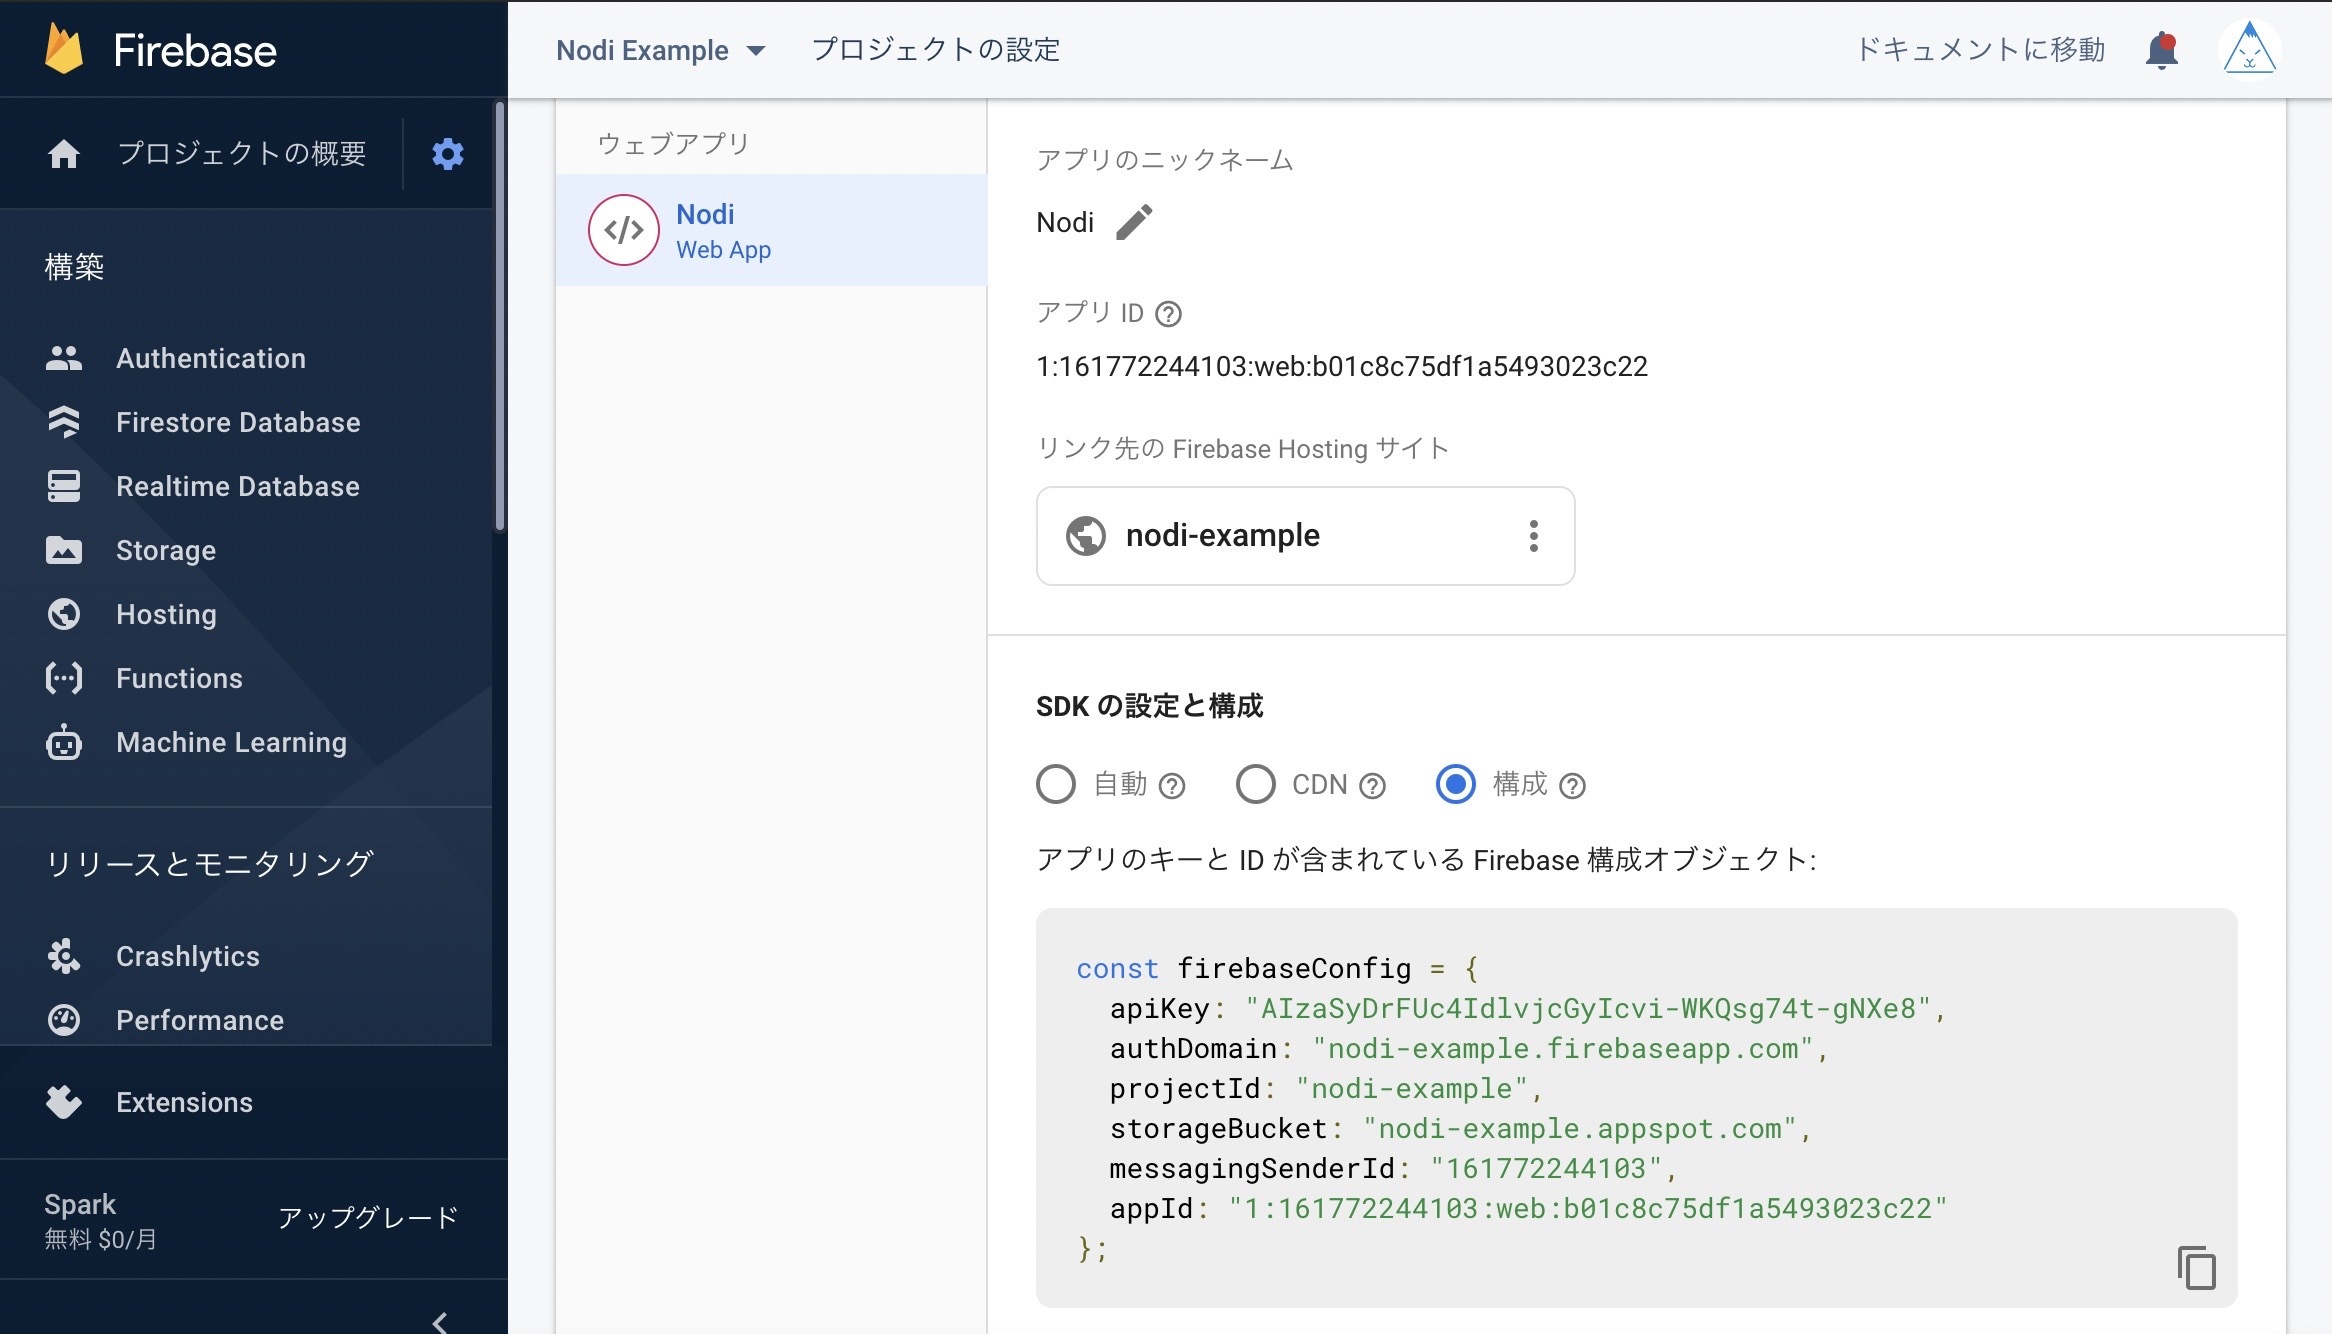
Create a file named .firebase.env.js in the root of the Nodi folder, and Copy the contents of the Firebase configuration object as shown in the capture below.

6. Configure CORS#
Using google-cloud-sdk, configure CORS settings for Firebase Storage.
For specific instructions, please refer to the official Firebase documentation. https://firebase.google.com/docs/storage/web/download-files?hl=ja#cors_configuration
For other configuration items#
You can now load your own Firebase project into Nodi and get the editor UI, modeling, etc. working, but it's not complete yet.
There are some other things that need to be configured, such as Firestore Database index and rules, which are necessary for searching files on the site. The necessary configuration files are included in the repository, so if you want to make it work completely, please refer to the Firebase documentation to configure various settings.