Create a new Node
This section describes the steps to create a new Node.
Create a Node class file#
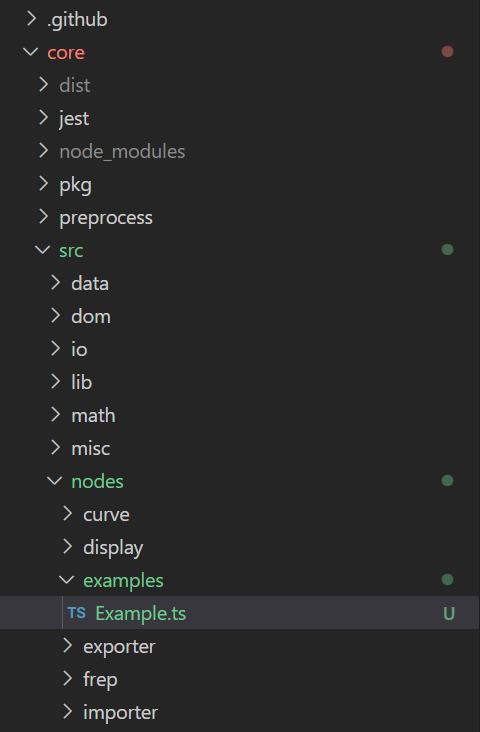
All Node classes are managed under core/src/nodes folder.
The folder structure corresponds directly to the directory structure when searching for Nodes, so You can either create the Node under the folder you want it to belong to, or create a new folder and create the class files under it.
Create a class file with the name [Node name].ts.
For testing purposes, we will create an examples folder and create a class file under it with the name Example.ts.
Define the Node class file#
In the newly created file, we will implement the contents of the Node.
We'll implement it by extending NodeBase, which is the base class for all Nodes.
export class Example extends NodeBase {
  // Name to be displayed in the NodeView in the editor  public get displayName(): string {    return 'Example';  }
  // Define the data type of the inputs  public registerInputs(manager: InputManager): void {    manager.add('w', 'Width of a rectangle curve', DataTypes.NUMBER, AccessTypes.ITEM);    manager.add('h', 'Height of a rectangle curve', DataTypes.NUMBER, AccessTypes.ITEM);  }
  // Define the data type of the outputs  public registerOutputs(manager: OutputManager): void {    manager.add('c', 'Rectangle curve', DataTypes.CURVE, AccessTypes.ITEM);  }
  // Define how to take the input and return the output  public solve(access: DataAccess): void {    const width = access.getData(0) as number;    const height = access.getData(1) as number;    const curve = new NRectangleCurve(new NPlane(), new NDomain(0, width), new NDomain(0, height));    access.setData(0, curve);  }
}
Registering the Node index#
When you have finished defining the Node, register the Node index with the following command and build @nodi/core.
# Execute the following command under the core folderyarn barrel # Register the path of the file you added to core/src/index.ts file.yarn build # Generate bundle files with webpack
Try Node#
The Node you added in the above steps can be selected in the editor, so you can see how it works.
To launch the editor, execute the following command under the web folder.
# Execute a following command under the web folderyarn dev
Write a description of the Node#
We manage the description of each Node in web/assets/json/description.json.
If you add a description here, you can display the text in the Node Inspector or in the description screen (nodi3d.com/nodes/[Node name]).